Learning how to inflate your inflatable boat may seem evident at first. Just pump away, right?
There’s a bit more to it than that. It’s not rocket science of course, but through my years boating with all types of inflatables, I’ve learned a lot about how to assemble them correctly. And how NOT to.
In a worst-case scenario, not inflating the boat correctly can actually become a safety risk out on the water, as I’ve experienced on an island camping trip.
But more on that later.
Contents
How to inflate an inflatable boat (step by step)
Here is my step-by-step guide on inflating boats, coming from years of experience.
Lay out
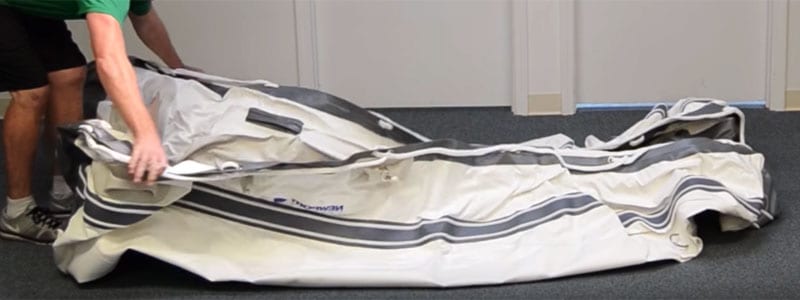
Unfold and lay the boat out on a flat surface, free of sharp objects (rocks, shells, barbecue sticks, etc.). A rough surface will definitely damage your boat as the tubes expand on the ground during inflation, so it’s best to use some kind of PVC mattress if you’re about to inflate your boat on a rough surface.
TIP: You want to expand the boat as much as possible to make it easier to inflate.
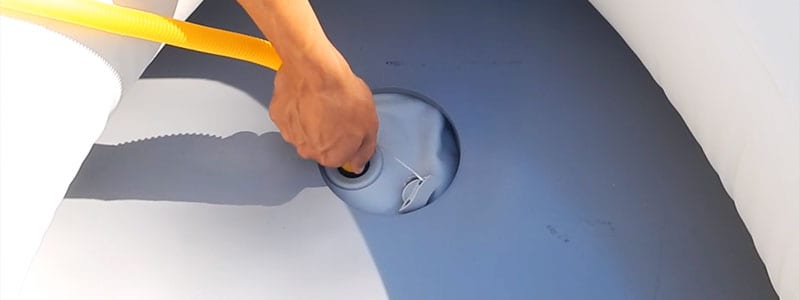
Remove valve covers
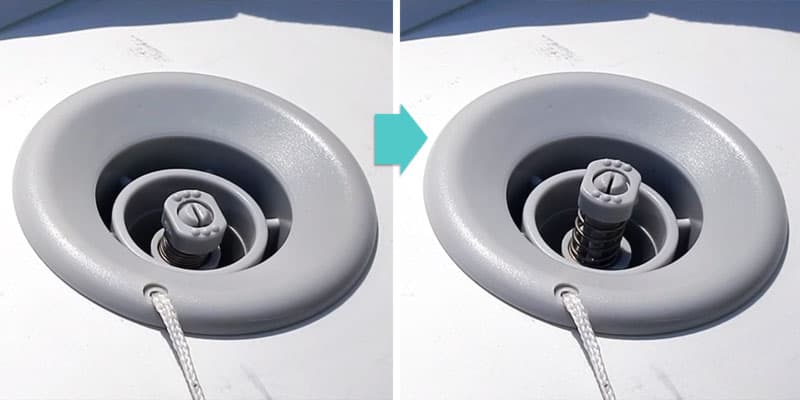
Remove the valve caps (aka dust caps) and ready the valves for inflation. If your valve covers are not numbered or held in place with a string, it’s a good idea to number them so they can be returned to their exact location.
If you have safety valves, you’ll need to turn the inner part to open the valve and ready it for inflation.
Fill each chamber to about 50%
Starting in the rear (or the side if there is no rear) and progressing clockwise, fill each chamber to about 50% pressure.
Some boat manufacturers specifically recommend the order of inflation of their tubes, so check your instruction manual.
Install floor (dinghy/sports boat with flooring)
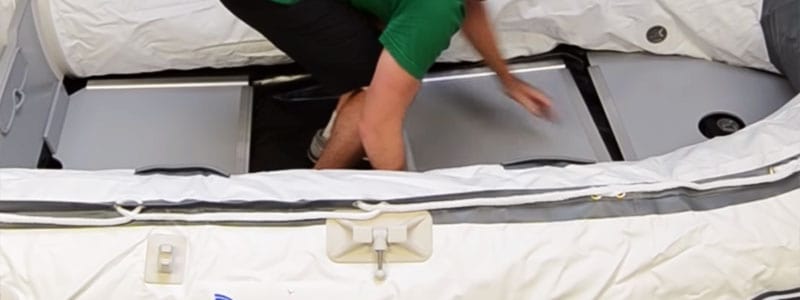
If you are assembling a dinghy, this is when you install the flooring.
Make sure the tubes are not inflated over 50%, otherwise you won’t be able to put the floors in properly.
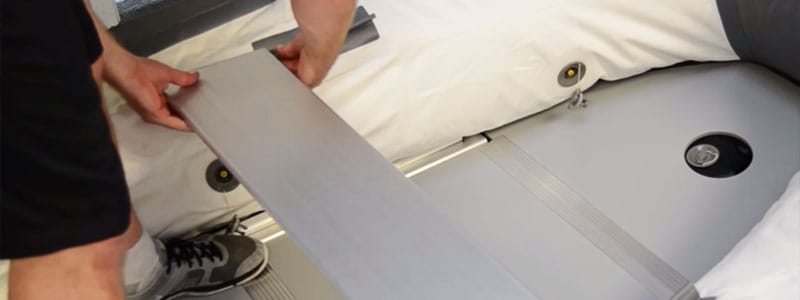
Installing an air floor is simple, just line it up inside the boat and pump away. Installing a hard floor is a bit more fidgety and takes a bit longer. Check out these separate posts on how to install an air floor and how to install a hard floor in your inflatable boat.
If you have a hard floor, remember to also install the floor stringers to make the floor rigid.
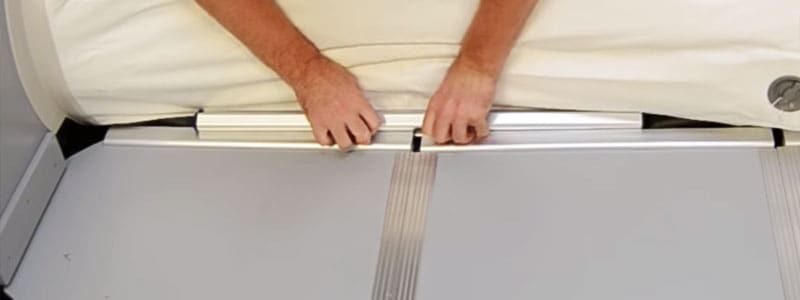
With your floor (and stringers) in place, you can move onto the next step.
TIP: Once you install the flooring, get in and make sure the keel valve lines up, and that the floor is centered and equidistant on all sides from the main tubes.
Install seat (on dinghies)
If you are assembling a dinghy, this is the step where you would install the seat. This just involves hooking the seat into a strap or sliding onto its bracket.
REMEMBER: If you forget and inflate both sides fully before installing the seat, you won’t be able to hook the seat in anymore. You’ll have to release some pressure first.
Inflate both sides to 90% than 100%
Pump up one side of the boat to about 90% pressure. You don’t want to pump it fully just yet, since that might damage the connecting fabric between the tubes.
Now fill the other side of the boat to 100%.
And finish by fully inflating the other side as well.
TIP: If you are using an electric pump, it’s a good idea to inflate it almost fully with it, and top it off with a manual air pump.
Inflate the keel (if your boat has one)
Inflating the rigid keel is the last part of the process. Remember that the keel usually requires more air pressure than the main chambers.
Safety checks
There are 2 safety checks you always want to carry out before placing your boat onto the water:
- Valve check: Make sure you screwed all of the valve covers back onto the valves. Replacing them is a real nag.
- Sound check: go around the boat and listen for air escaping anywhere. If you identify a puncture or tear, you’ll need to fix it before heading out onto the water.
And you’re ready to go 🙂
How long does it take to assemble an inflatable boat?
Once you get into it, even the most complicated setup should be finished in no more than 15-20 minutes. Even faster if you have help.
If you’re setting up a new boat for the first time, it will take a bit longer because the material has to stretch, and you don’t know the steps yet.
TIPS: Here is some advice on lowering your assembly time.
- Do a dry assembly at home after buying a new boat to make sure everything is ok
- Using an electric air pump will shave a few minutes off
- Air floors are quicker to set up than hard floors
Recommended air pressure
Being an important subject, we wrote a dedicated article on the recommended air pressure for inflatable dinghies, kayaks, etc.
In short, when a tube is properly inflated, it is hard and has a bloated feel to it.
The recommended air pressure for the different parts of an inflatable would be the following.
| Recommended PSI | |
|---|---|
| Main tubes | 2.5 – 3.5 |
| Keel | 4 – 4.5 |
| High pressure air floor | 8.5 – 11.5 |
| SUPs | 10 – 20 |
The recommended air pressure for the main tubes would be for inflatable dinghies, kayaks, and pontoon boats alike.
Foot pumps can inflate to about 3 PSI maximum, so the one supplied with your inflatable cannot do it any harm. It will not allow overinflation, as it will either have a safety valve or it simply won’t be able to pump beyond a specific air pressure.
If you are concerned about overinflating your boat, you should get an air pressure gauge.
FYI: In all my years with inflatable boats, I have never overinflated one to the point of it blowing up. I have heard of a seam splitting though as a result of direct sunlight, read on to find out why.
Changing weather & temperature affect air pressure
Weather and temperature changes will change the pressure of your inflated tubes. Hot expands air, and cold shrinks it.
Here are a few important things to keep in mind:
- Placing an inflatable onto the water will usually lower the air pressure, since the water is colder than the air. This will make the boat feel sluggish.
- Direct sunlight will warm up the air inside the tube, increasing pressure. This usually happens when you inflate the boat in the morning when it’s cool, and sunlight hits the boat during the day.
The danger of overinflation arises, which can be especially dangerous if the boat hits a sharp object and pops the tube. - If you don’t deflate your inflatable at night, the colder night temperatures will lower the air pressure of the tubes by morning.
You will need to top off or vent some air out of your inflatable to accommodate the changes in temperature and weather.
Keeping your inflatable boat at around recommended air pressure is important for performance and safety.
Types of pumps
You may already know that there are 2 kinds of pumps you would use for getting air into your inflatable.
- Electric pump
- Manual hand or foot pump
Electric pump
Moving air with an electric pump is easy. Plug in, turn on and watch as your boat inflates. Most modern electric pumps even have a deflate function to suck the air back out of the boat. Nice!
This is, of course, the most comfortable way to inflate/deflate an inflatable boat. Here are the electric pumps I have experience with and can recommend.
However, there are some caveats:
- High-performance inflatable boats cannot be inflated to 100% with most electric pumps, because most pumps are not strong enough.
You can use any old electric pump to get the boat to around 90% and top it off with a manual hand or foot pump to get the tubes to the proper pressure.
Alternatively, you can buy a 2 stage electric pump. These are more expensive ($100+), but can do the job since the pump’s high-pressure setting can pump your boat up to 20 PSI. - Remember that you need electricity to get it to work, which may not always be available. Some pumps run from a cigarette lighter, some are connected to a car battery, and some need to be plugged into a wall socket.
If you inflate/deflate your boat often, I highly recommend you get an electric pump (unless you’re looking for a nice workout). Electric pumps take the grunt work out of boating, and they are quicker as well.
If you need to inflate to a high PSI, you might want to get a 2 stage electric pump, otherwise, you’ll need to top it off with a manual pump.
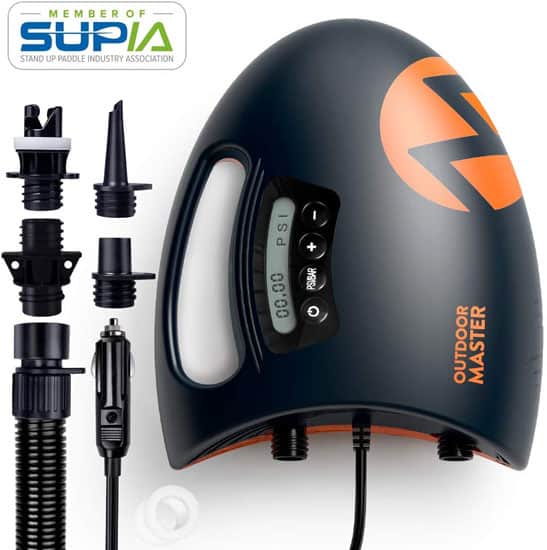
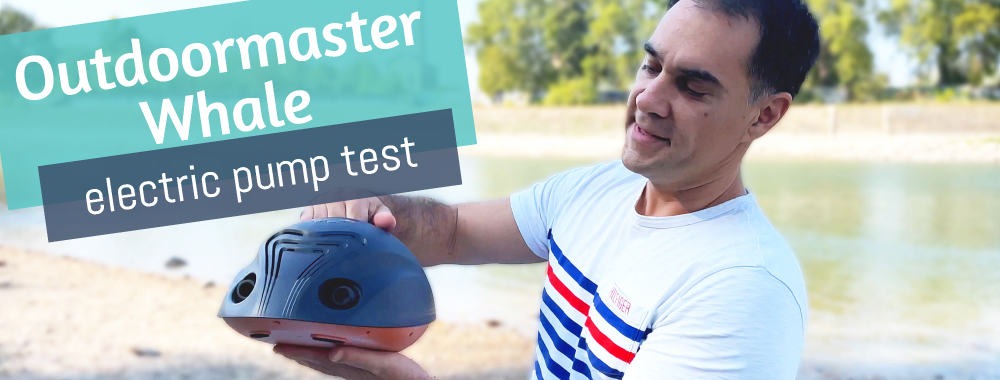
OutdoorMaster Shark

Great features at a good price
Best electric pump
If you don’t need to inflate more than 3 SUPs at a time, this pump is a terrific choice. It simply works. The pump has a 1-year warranty for peace of mind as well.
It is the cheapest direct from the manufacturer with this unique 20% coupon code they gave us!
That is the biggest discount I’ve seen on this pump, saving you money!
Special 20% coupon code at checkout!
OM20TOM
It’s your choice, I prefer the high volume quick electric pump + manual hand pump method as you can read in this guide.
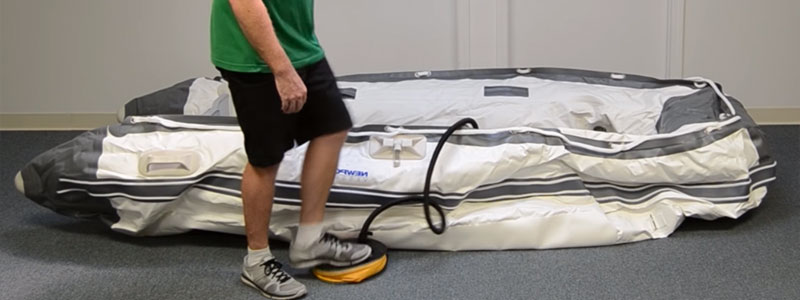
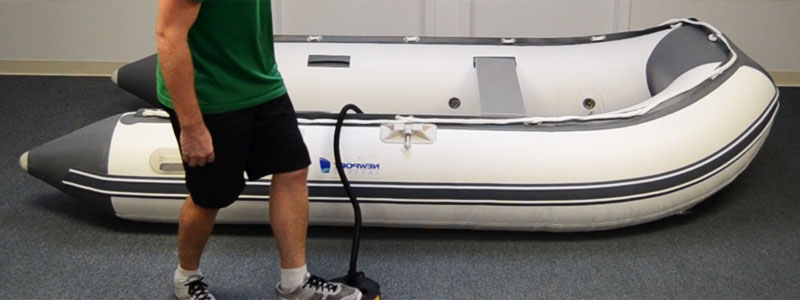
Manual pump
A manual air pump is a must-have for inflatable boating. There are 2 kinds of manual pump:
- Foot pump – placed on the ground and pumped with your foot
- Hand pump – tube-like appearance, which you pump with your arms
A foot pump will usually come packaged with your inflatable boat, or buy one at basically any retailer.
If you want to upgrade the stock pump, I think this NRS pump is the best option right now. It allows you to pump air in your inflatable up to a pressure level of 25 PSI with ease.
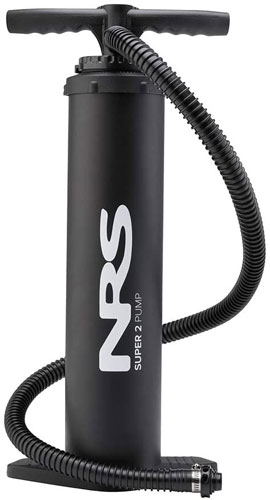
NRS Super 2 HP Pump
Strong and dependable, my top pick
Best manual pump
The redesigned NRS Super Pump is hands down, the best manual pump you can buy in 2024.
You can buy it with a 10% discount right now as well.
Save 10% with this discount code at checkout on OutdoorPlay.com:
AV10
Now let’s talk a bit about hand pumps and their importance when it comes to safety.
A temperature variance between the air in an inflatable boat and the water will cause the boat to lose pressure, since the air contracts in the tubes. This can quickly become a safety hazard if you’re camping on an island somewhere, or out further from land or civilization.
If you’re going on a longer trip with your inflatable boat, you absolutely need a high-quality hand pump. Cheap pumps are not dependable. I have had 2 break in my hands.
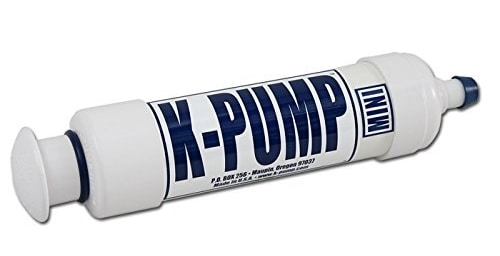
After years of experience and going through several hand pumps, the only ones I can recommend are the hand pumps by K-Pump.
I know, I know. You can get cheaper hand pumps at Walmart.
Trust me, don’t.
When you’re far away from anything, and you notice your boat pressure has dropped, you need a durable hand pump that can quickly get your boat inflated again.
I always have a K-Pump Mini in the boat on longer trips. It is not 2 stage, meaning it doesn’t have a high-pressure feature, but it can still inflate up to 9 psi, which is way more than the recommended air pressure of an inflatable boat.
K-Pump Mini
Good to have in your boat
If you’re going out further or on a longer boat/kayak trip, you should alway have a K-Pump Mini in your boat.
Check today’s prices on:
Save 10% with this discount code at checkout on OutdoorPlay.com:
AV10

How can I remove the pump without the valve sticking and releasing all the air
One way valves are not supposed to release air when you remove the pump. If you have a Halkey Roberts valve like this, you need to twist it to put it into inflation mode.
If my pump wont allow me to overinflate past 3psi how am i going to get the keel to 4.5?
You need a new pump 🙂
Nice post and useful instructions.
In order to speed up the inflation process, can I use multiple electric air pumps to blow up all chambers simultaneously? That way we can cut the time significantly. You advice will be appreciated.
Hi Edward,
It depends on the boat. Most have chambers that should be inflated in a given sequence. Which boat are you referring to?
Hi Tom,
My boat is Intex Excursion 5 with three chambers (floor, inner and outer).
>>Hi Edward,
>>It depends on the boat. Most have chambers that should be inflated in a given sequence. Which >>boat are you referring to?
With that boat, you are supposed to inflate the floor, then the inside tube, then the outside. You could technically start inflating all of them at once after laying the boat out, but I think you should stop at 80% pressure and stick with the 1-2-3 bladders from there, since the pressure in each tube will have an effect on the adjacent tubes.
i just got myself a tobin sports 9 foot inflatable with a soft floor. i also have a 9.9 hp motor for it highest rating. my question is my transom twists backwards at not much power, is that typical of inflatables or did i just not inflate it enough? i thought i might damage it but after reading your article i thought i should try again next spring. that is, if its not typical.
thanks,
tom
Hi Tom,
Doing a search for your boat, I found an inflatable dinghy with a hard transom. Is that your model?
If yes, the transom shouldn’t twist at all. Either the boat was underinflated, or it is defective.
Can I use an air compressor? Just carrying it down to the lake.
Honestly, I’ve never tried, so I can’t really answer this.
Great advice Tom, I’ve always had larger fishing boats but, having a rib for coastal fishing and will use your instructions when setting up.
Very informative, and well written.
I have a SIB, but it seems to loose air after about 3 weeks, but all the way round, evenso it has Six valves, plus one over pressure valve.
Do you think, I should do something with the valves, because I think it is not a material leak.
The SIB is brand new, and has not been on the water yet
Kind Regards
Dietrr
Hi there!
The first thing you should do is find the source of the leak.
I have an article on this topic here:
https://pumpupboats.com/how-to-find-fix-inflatable-boat-air-leak/
I’ve never heard of a multichambered boat losing air everywhere though.
But if your boat is brand new, you could just send it back and get it replaced. You shouldn’t have to deal with air leaks on a brand-new boat.
What kind of boat is it?