
Punctures and leaks on inflatable boats are rare, but risky and unpredictable. It is wise to inspect your boat on a regular basis, otherwise you may find yourself on a sinking ship.
To check if your dinghy has a leak, you can simply leave it inflated for a period of time. A dinghy in good condition will remain tightly inflated. But if it is losing air pressure and has become soft over time, it might either be caused by cold temperature or by a puncture or tear that is slowly leaking air.
If you suspect that your dinghy has a leak, below is a complete guide on how to find leaks and how to correctly use boat sealants in repairing your SIB.
Contents
First step: Finding the leak
Leaks and punctures vary in size. Oftentimes, leaks are really small, so finding them can be really challenging. Usually, you can’t even see the leak at all, unless it’s big enough not to go unnoticed.
If you’ve had no luck in finding leaks after inspecting your SIB, read the guide below for tips in finding even the smallest puncture on your boat.
To find leaks on your dinghy easily, use a solution of water and soap.
You can use any kind of soap: detergent, dishwashing, you name it. Just don’t use solutions that can damage your boat’s fabric. The goal here is not to clean your SIB, but to note where the leaks are coming from.
- The first step in this easy hack is to fully inflate your boat.
- Spread the soapy mixture on it. If you have a general idea of where the leak is, you can use a spray bottle and spray the area with the soapy water. You may need a bucket full of the soapy solution if you have no idea where the leak is coming from, as well as a sponge to spread it over the boat.
- Be on the lookout for bubbles forming. Escaping air would lead to the formation of bubbles. If you see bubbles forming somewhere, you’ve found your leak.
- Remember to mark the exact areas where the bubbles are forming for a more accurate fix, especially if there are numerous leaks.
Tip: Oftentimes, there will be more than 1 leak. To effectively find all the leaks and punctures, cover the entire boat with the solution. Fixing all the leaks at one time is less tiresome than finding out that there are still problem areas later on.
Now that you’ve found the leaks, you can now proceed to the next step.
When to use a liquid sealant to fix your SIB
There are 3 ways you can fix a leak on your SIB, depending on the size of the puncture.
- For punctures that are less than 1/8” in size, you can do a quick fix using glue.
- For punctures that are 1/8” to 4” in size, do a patchwork using the provided repair kit that comes with your SIB.
- Use an inflatable boat sealant
The first 2 methods should be used when there are just 1-2 punctures that you can find. I’ve discussed them in this article on how to find and fix a SIB puncture.
In this article, the method we will discuss is the usage of boat sealant. Unlike the first 2 repair methods which seal the leaks on the exterior of the SIB, boat sealants seal leaks and punctures from the inside.
This is my preferred method if I can’t identify the source of the leak, or if there are lots of punctures in the boat.
How to use the sealant
Below is a step-by-step guide on how to use a boat sealant to repair leaks on your SIB:
- Deflate your inflatable boat.
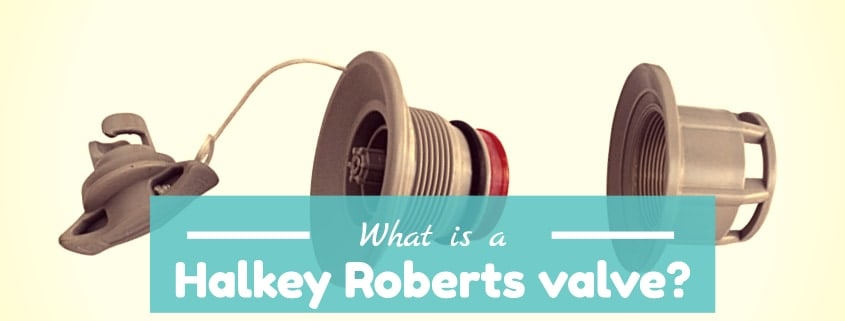
- Inject liquid sealant into the chambers through the valve.
- Yes, you will need to unscrew the valve and inject the sealant into the chambers. Do not attempt to pour sealant over the valve. It will clog and damage your SIB.
- To know how much sealant to use, refer to the usage guide indicated in on your sealant bottles.
Boats that are more than 12 feet long will require more sealant than smaller boats. Please be mindful of this, as too much sealant may permanently damage your boat. For example, West Marine’s sealant indicates that 1/2 ounce of the sealant will cover 1 square foot of material.
- Screw the valve back into place.
- Re-inflate your SIB.
- Turn the boat end-to-end and side-to-side to effectively distribute sealant inside the chamber, sealing the entire interior of your SIB. Some inflatable boats are heavy, so have someone assist you while rolling and flipping it. If you have an 800 kg RIB, you can either call the guys from the gym, or take the boat out on wavy water to bounce it around, thereby spreading the sealant.
- Let it dry for at least 24 hours (or until the instructions say).
- Inspect your SIB to check if leaks were effectively sealed. To check for leaks, please refer to the first part of the article: Finding the Leak.
You can also watch ToobSeal’s video as a guide for using a boat sealant.
Boat Sealant Products
There are numerous boat sealant products in the market. To aid you better, we have listed below 3 of the most popular and effective sealants we have tried and tested:
West Marine Inflatable Boat Sealant
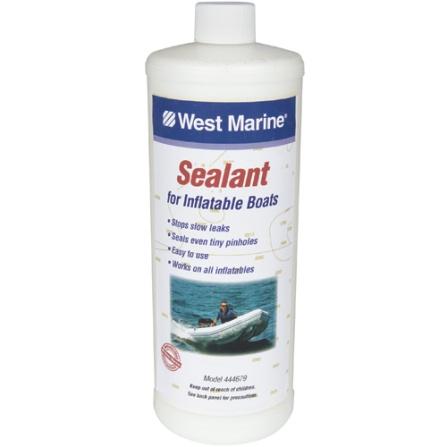
This boat sealant is very effective in sealing the interior of your SIB. This product prevents the sides of your chambers to stick together, unlike other products in the market, which can result into your SIB being unable to be re-inflated.
To purchase it, click here.
ToobSeal Inflatable Boat Interior Repair Sealant
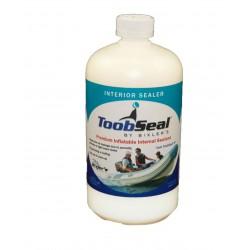
ToobSeal Sealant has been one of the most trustworthy sealant in the market. It has garnered a lot of positive feedbacks and reviews from customers and consumers. It’s proven to be an effective sealant for inflatable boats.
To purchase it, click here.
Inland Sealant for Inflatable Boats
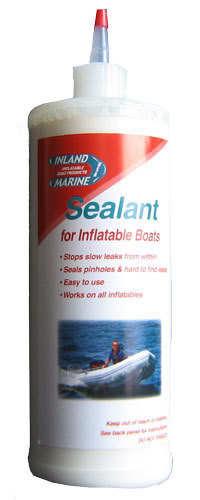
This product is an easy-to-use sealant that will ensure sealing of leaks from the inside of your SIB. Compared to the other 2 sealants listed above, Inland Sealant is more affordable but still does the magic in repairing leaks in your inflatable dinghy.
To purchase it, click here.
Inflatable boat sealants can save a seemingly dying boat. Before you give up on your boat, try it!
I am being told that the leakage issue with my Zodiac YL340DL 2003 is that the UV has worn the tube thin and the tube is leaching the air thru the material. Can this issue be resolved with the use of sealant or will I need to replace the tube?
No, the sealant is only good for sealing punctures. PVC degraded by UV cannot be saved.
Thinking of using a pump sprayer with flexible wand to get into tube and spray sealant as the boat is 1550lbs and not at all easy to roll around
After spraying will re-assy the valve and inflate just enough to shape…
Thoughts???
Alan
1550 lbs? Did you mean 150 lbs?
I have a slight leak between two tubes on an old hypal on boat. The baffle is allowing airfrom one tube to the other. I have inspected the inside with an endoscope and the structure looks sound. Would a sealent such as this be effective if I used it in both the tubes?
Do you mean that the wall that separates the 2 tubes has a leak? So the wall inside of the tubes?
Hello,
Thanks for the article. very informative.
If the dinghy is 19ft, does the sealant method apply too?
I have a problem. I can’t find the leak from where is coming from.
Thanks for your help.
Rgs
John
Hi, yes, you just need to use more sealant. WestMarine’s sealant instructions say that for boats over 12 feet in length, you need to use 1/2 ounce of sealant to cover 1 square foot of material.
This is their formula:
[Length of the Boat in feet] x 12 x 2 x [Diameter of the tube in inches] x 3.1416 / 576 = Number of ounces of sealant needed.